DIY: make your own ad creatives and product visuals with AI — covers, mockups, thumbnails, store shots — for cents each
The recipe I use for article covers, game store shots and channel thumbnails: one style sentence, a seed per asset, a grey plate for anything with a screen, text added afterwards, and a QA pass before anything ships. Forty covers cost me $1.30. Where it breaks and how to keep it from looking generated.

Solo operator · one-person venture studio in Europe (SEO · affiliate · micro-SaaS) · 21 September 2026 · updated 21 September 2026 · 4 min read
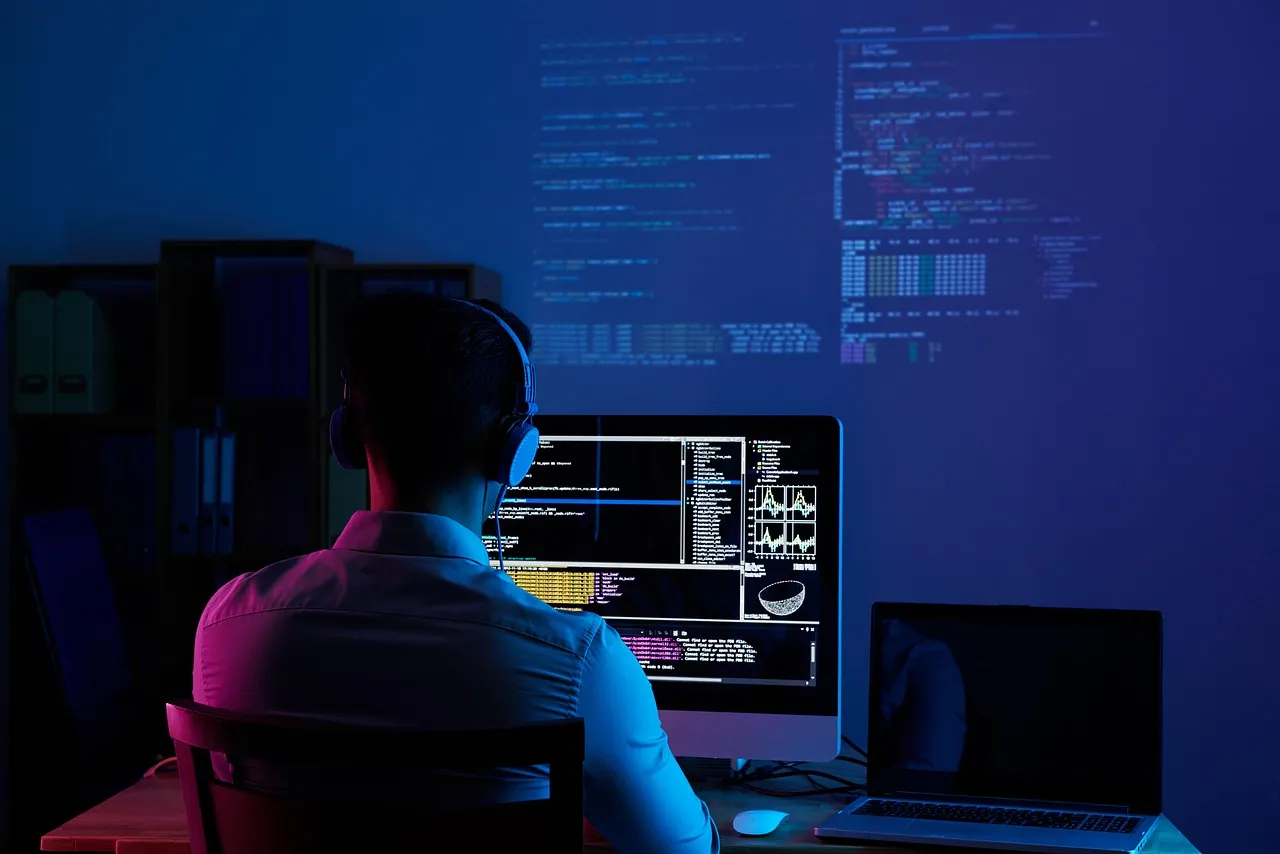
Every product needs pictures before it needs anything else: a cover for each article, a thumbnail for each video, store screenshots for an app, a hero image for a landing page, a set of ad variants to test. The reflex is a stock library (same photo as your competitor) or a designer per asset (a week per asset). This is the recipe that made the covers on this site, the store shots for my games and the thumbnails for my channels.
- You end up with
- A set of on-brand visuals — covers, thumbnails, mockups, store screenshots, ad variants — produced from one style rule, with your real product composited in
- What it costs
- About $0.03 per image on a pay-per-image API at 1216×768. Forty article covers cost me $1.30 in one run. A subscription works too if you make a few a week by hand
- How long
- Ten minutes per asset by hand; a batch of forty in an hour with a script
- Runs on
- An image model (API or subscription) · a free image editor for text and compositing · a QA pass with your own eyes · optionally a 40-line script for batches
Step 1 — one style sentence, then never change it
Write the sentence that every prompt on this project starts with. Mine for the article covers:
Editorial still life, warm paper tones, soft daylight from the left, muted terracotta and sage accents, film grain, no text, no people.
Every cover on the site was generated from that sentence plus a subject. That is why they look like one publication instead of forty stock photos. The sentence lives in the brand folder from the identity recipe; if you skipped that, write this sentence now.
Step 2 — a seed per asset, so you can come back
Most models accept a seed number. Derive it from the asset’s name (a hash of the article slug, the game title, the ad variant) and keep it. Two things you get for free: the same asset regenerates identically if you lose the file, and a small prompt edit changes the image slightly instead of completely, so you can converge on a cover instead of gambling on it.
Step 3 — the grey plate (for anything with a screen or a label)
Never ask the model to draw your interface, your label or your text. It will invent buttons, misspell your name, and show a feature you don’t have. Instead:
- Prompt the scene with “a flat, neutral mid-grey rectangle” where the screen or label goes — a phone on a desk, a laptop on a table, a box on a shelf.
- Composite your real screenshot or label onto the grey rectangle in an editor (perspective-transform it to the plate’s corners) or with a script that finds the plate automatically.
Step 4 — text goes on afterwards, always
Titles, prices, badges, “NEW”: in an editor, on top of the image, in your brand font. Two or three words on a thumbnail, never a sentence. Keep a template with the text position fixed so every asset in a series lines up; the cover template from the identity recipe is exactly this.
Step 5 — batch it when you have more than five
A script of a few dozen lines does the whole job: read a list of assets, build each prompt from the style sentence plus the subject, derive the seed, call the API, save the file, skip anything that already exists. That last rule is what makes it safe to re-run — you add three articles, run the script, and only three images are generated. Flags I found I needed: generate only one slug, limit the count, dry-run to print the prompts without paying.
Step 6 — look at every frame
Before anything ships, open each image at full size and check: hands, text, reflections, the horizon, anything that should be straight, anything that should be symmetrical. Reject and regenerate with a new seed rather than fixing in an editor — at three cents, regeneration is cheaper than retouching. On the channels I keep a checklist per recurring subject so the check is the same every time.
Ad variants — the part that is actually testing
For ads, produce variants that differ in one thing: the same scene with a different subject, the same subject with a different hook line, the same hook with a different colour cast. Name the files by the variable. Run them; keep what wins; regenerate the losers’ slot from the winner’s seed with one more change. The cost of a variant is three cents, which means the only expensive thing left is not testing.
Where it breaks
- It looks generated. The prompt had “cinematic” or “epic” in it. Describe a medium — a film stock, a lens, daylight from a direction — and grade the batch afterwards so it shares one cast.
- Faces. They render differently every time and carry legal weight if they resemble someone. Compose around them: from behind, cropped, far away.
- The model drew text. Prompts that mention a poster, a sign, a label or a screen tempt it to write on them. Say “no text” and use the grey plate.
- Every image is beautiful and the set is a mess. No style sentence, or you changed it halfway.
- It’s a mockup of a feature you don’t have. Composite only real screens. That’s advertising law, not taste.
Two doors from here
What you just did has a name: you solved a business problem without hiring an intermediary. People who keep doing that are called solopreneurs. If that sounds like you, start here — or check whether you are ready. All recipes: Do it yourself.
Related: the game-studio case these store shots came from · the identity recipe · all recipes in Do it yourself.
Frequently asked questions
Which image tool should I use?
Can I put a real product or screenshot into a generated scene?
How do I stop it looking like AI?
Keep reading
DIY: make your own brand identity with AI — logo, banner, cover template and a style rule, in an afternoon
The recipe I use for every new channel and project: a name test, a one-paragraph visual doctrine, a logo and avatar from an image model, a banner and a cover template, and the file that keeps every future asset on-brand. Cost in cents, where it breaks, and when you still need a designer.
DIY: make your own track or jingle with AI — for a video, an app, a podcast or a product — with rights you can actually use
The recipe behind my one-person music label, scaled down to one track: which plan gives you commercial rights, how to write a prompt the model obeys, how to structure lyrics so the vocal lands, how to pick and export, and where a generated track is allowed to go — and where it gets you banned.
DIY: make a promo video without a camera — AI stills, a few seconds of motion, a voice and word-timed captions, for under a dollar
The exact production line behind my video channels, applied to one 20–30-second promo: generate the frames, animate only the seconds that matter, record or synthesise the voice, time the captions to the words, assemble with free tools. Real per-clip costs, the hook rule, and the four places it breaks.
Everything here is free. If something saved you time, you can support the author — no product, no signup.